Analytical Calendar in Google Drive
Data File Sharing and How to Use
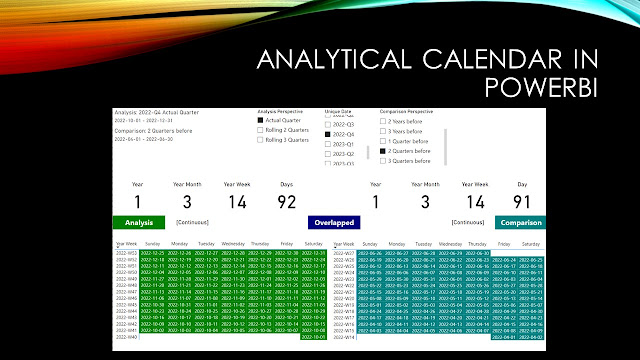
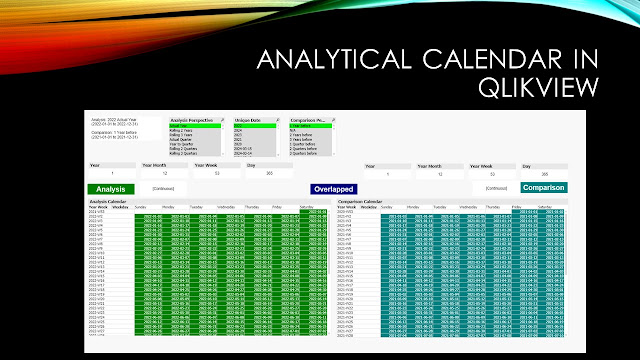
This post is to provide you a step by step guide on how to integrate the analytical calendar into your analytic dashboard. The analytical calendar files are now available in Google Drive (Please send me a request and I will share you the files).
The Analytical Calendar consists of the following information:
1. It has calendar information from 2015-01-01 to 2024-12-31.
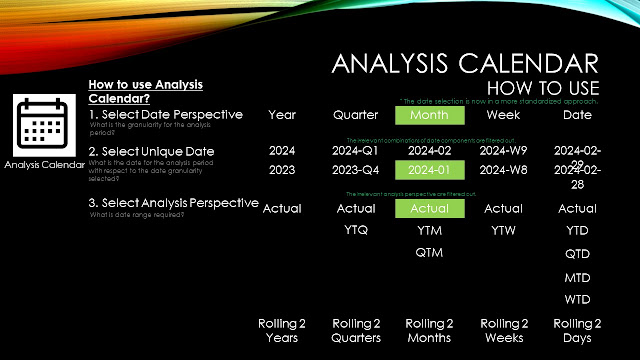
2. It has date granularity of Year, Quarter, Month, Week and Date.
3. Week is using Complete Week concept.
4. Analysis Perspective include:
a) For Year
i) Actual Year
ii) Rolling 2, 3 Years
b) For Quarter
i) Actual Quarter
ii) Year to Quarter
iii) Rolling 2, 3 Quarters
c) For Month
i) Actual Month
ii) Year to Month
iii) Rolling 2 - 11 Months
d) For Week
i) Actual Week
ii) Year to Week
iii) Rolling 2 - 26 Weeks
e) For Date
i) Actual Date
ii) Year to Date
iii) Year to Month
iv) Rolling 2 to 30 Days
5. Unique Date include:
a) Year from 2015 to 2024
b) Quarter from 2015-Q1 to 2024-Q4
c) Month from 2015-Jan to 2024-Dec
d) Week from 2015-W2 to 2024-W53
e) Date from 2015-01-01 to 2024-12-31
6. Comparison Perspective include:
a) N/A
b) For Year
i) From 1 to 3 Years before
c) For Quarter
i) From 1 to 3 Years before
ii) From 1 to 3 Quarters before
d) For Month
i) From 1 to 3 Years before
ii) From 1 to 3 Quarters before
iii) From 1 to 11 Months before
e) For Week
i) From 1 to 3 Years before
ii) From 1 to 26 Weeks before
f) For Date
i) From 1 to 3 Years before
ii) From 1 to 3 Quarters before
iii) From 1 to 11 Months before
iv) From 1 to 26 Weeks before
v) From 1 to 30 Days before
7. It might have more than required calendar information and that can be filtered. It will be demonstrated how to do.
Step by Step Guide
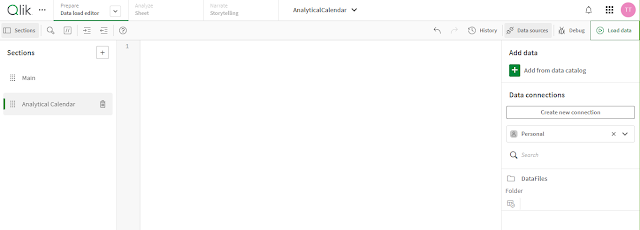
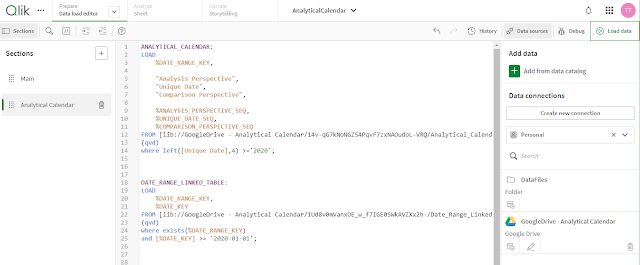
In Qlik SaaS, create a new application or use the application that you would like to use the Analytical Calendar. And then go to Data Load Editor to begin.
1. Click "Create New Connection".
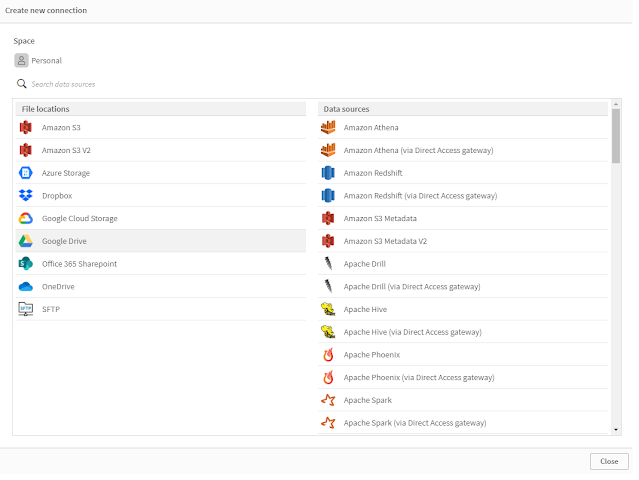
2. Click "Google Drive".
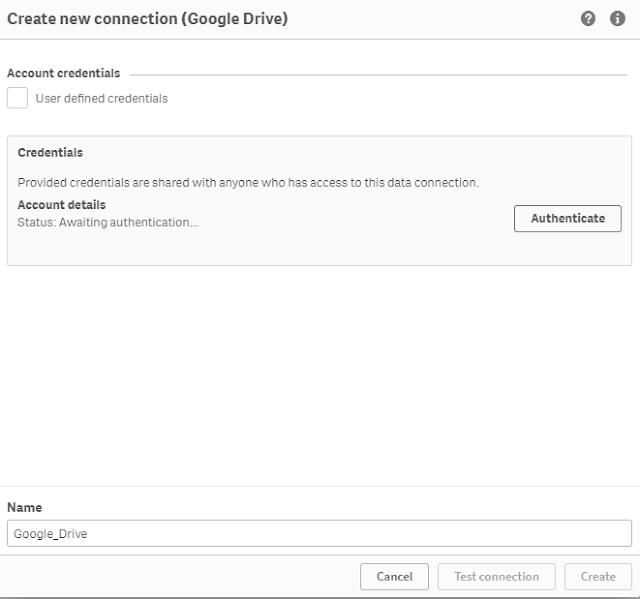
3. Click "Authenticate".
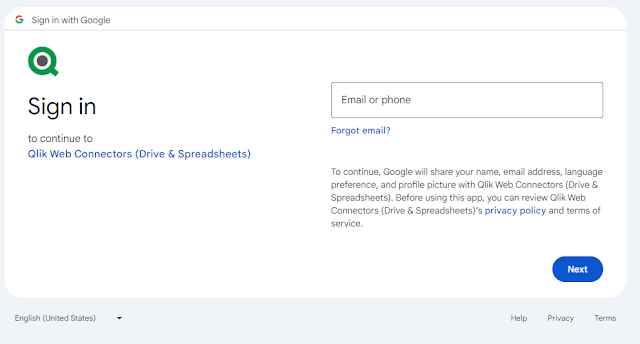
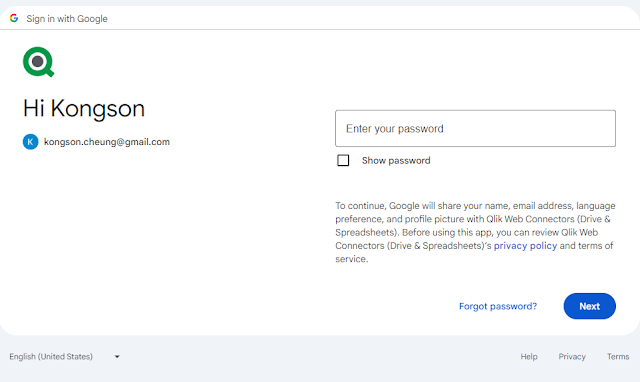
4. Enter the Gmail account.
5. Enter the password.
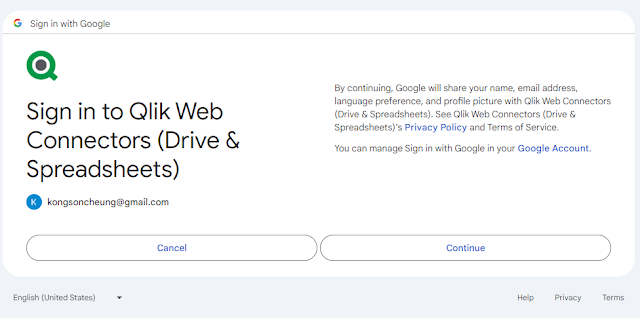
6. Click "Continue".
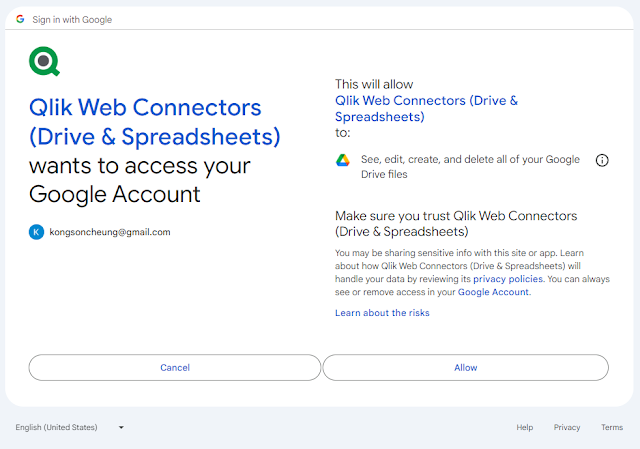
7. Click "Allow".
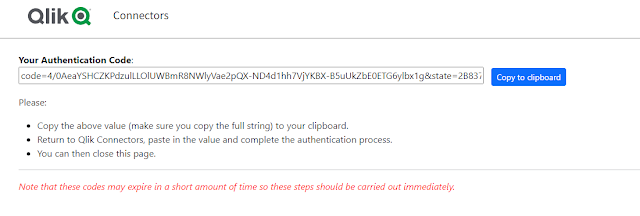
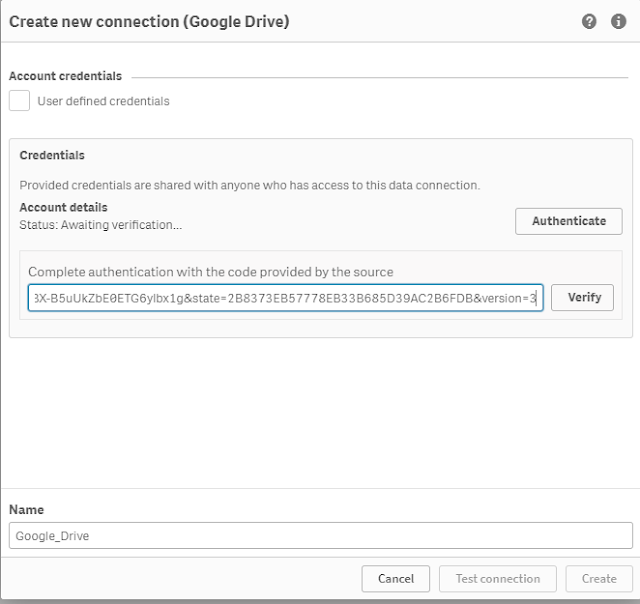
8. Click "Copy to Clipboard".
9. Paste the link and click "Verify".
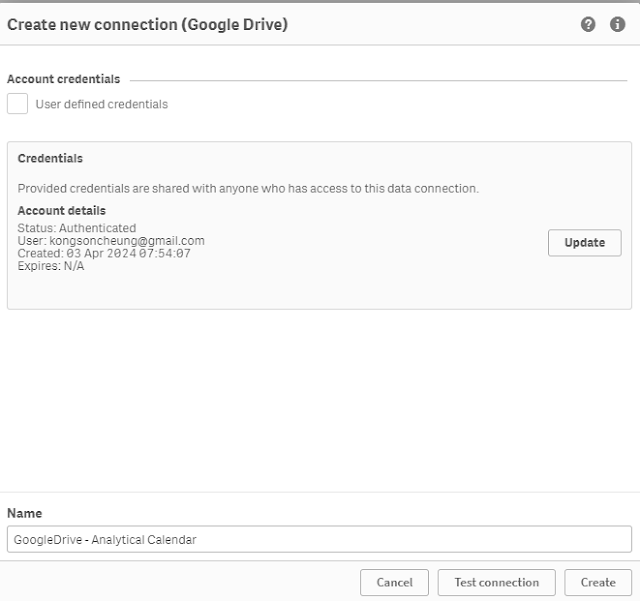
10. Update the Name and click "Test Connection".
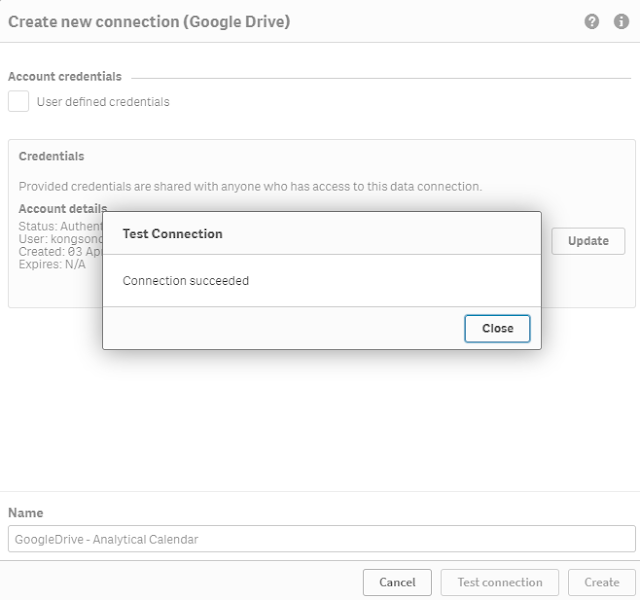
11. Click "Close".
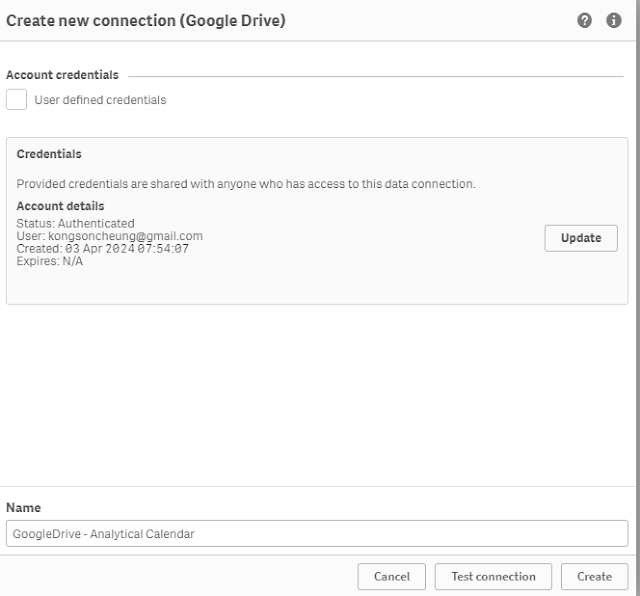
12. Click "Create".
13. Click the folder icon under the newly created connection.
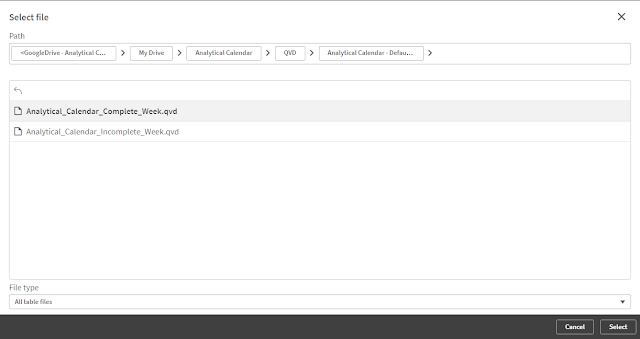
14. Select the Analytical Calendar file and click "Select".
15. Wait.
16. Do the same for Date Range Linked Table. Select the file and click "Select". 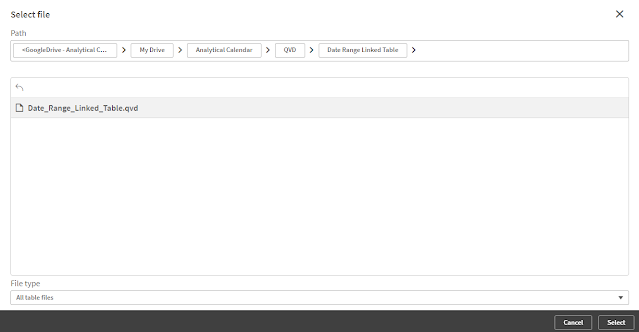
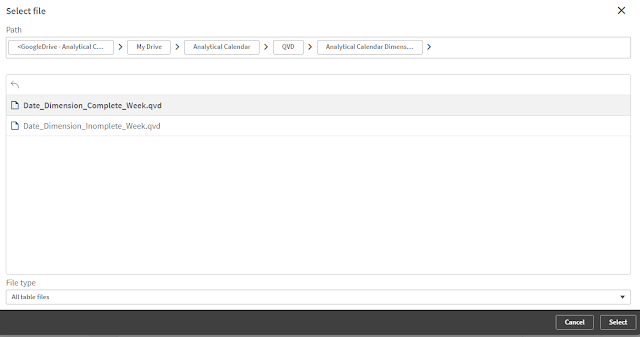
17. Do the same for Date Dimension. Select the file and click "Select".
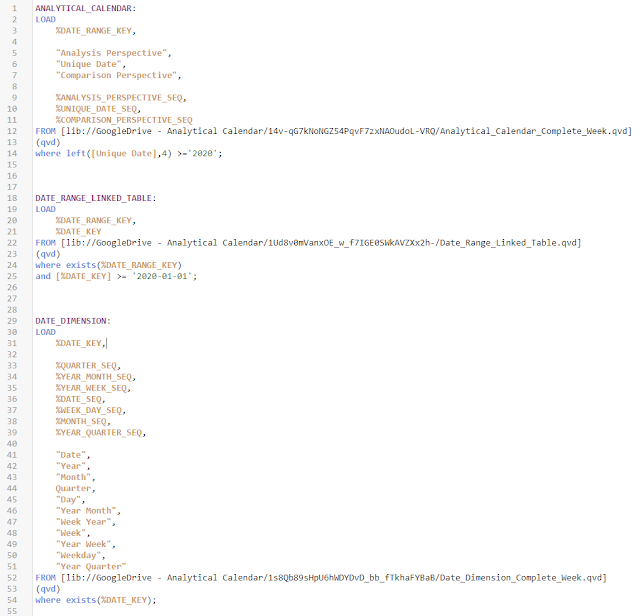
18. Modify the script.
a) Add the Table Name.
b) In ANALYTICAL_CALENDAR, add the where clause
Where left([Unique Date], 4) >= 'YYYY' (YYYY is between 2015 to 2024)
c) In DATE_RANGE_LINKED_TABLE, add the where clause
Where exists(%DATE_RANGE_KEY)
and [%DATE_KEY] >= 'YYYY-MM-DD' (YYYY-MM-DD is between 2015-01-01 to 2024-12-31)
d) In DATE_DIMENSION, add the where clause
Where exists(%DATE_KEY)
All these will eliminate the unnecessary data.
19. Click "Load Data".
20. Enjoy using the Analytical Calendar !!
Conclusion
It is a no cost sharing. Very Simple and can let you enjoy the advantages of the Analytical Calendar. The settings are default and definitely can be customized for specific usage. If there is a demand, it would later enhance the overall distribution method to really help contribute to the Analytics realm. For the time being, have a try and let me know if you have any feedback. The calendar has been developing for quite some time and keep evolving based on the your comments.
Thank you!! I hope you enjoy the reading and sharing.
* If you like my post, support me buy me coffee https://buymeacoffee.com/kongsoncheung.

